Remote access to a Raspberry Pi is essential for managing IoT projects, especially when working from a Windows 10 device. Whether you're configuring sensors, controlling devices, or monitoring data, being able to access your Raspberry Pi remotely streamlines your workflow. This guide will walk you through the process step-by-step, ensuring you can harness the full potential of your IoT setup without physical access to your Raspberry Pi.
In today's fast-paced world, the ability to remotely control and manage IoT devices has become a necessity. The Raspberry Pi, with its versatility and affordability, has emerged as one of the most popular platforms for building IoT solutions. However, the challenge lies in accessing this tiny but powerful device remotely, especially from a Windows 10 computer.
This article aims to provide a comprehensive guide on how to remotely access your Raspberry Pi for IoT projects using Windows 10. We'll cover everything from setting up your Raspberry Pi for remote access to troubleshooting common issues. By the end of this article, you'll have the tools and knowledge to efficiently manage your IoT projects from anywhere in the world.
Read also:Blake Sheltons Political Affiliation Unveiling The Truth Behind His Stance
Table of Contents
- Introduction
- Setting Up Raspberry Pi for Remote Access
- Preparing Windows 10 for Remote Access
- Using SSH for Remote Access
- Setting Up VNC for Remote Access
- Configuring Network Settings
- Integrating IoT Devices
- Enhancing Security for Remote Access
- Troubleshooting Common Issues
- Conclusion
Setting Up Raspberry Pi for Remote Access
Before you can remotely access your Raspberry Pi, it's crucial to ensure that your device is properly set up. Follow these steps to prepare your Raspberry Pi for remote access:
Installing the Operating System
Begin by installing the latest version of Raspberry Pi OS on your device. This operating system includes all the necessary tools and configurations for remote access.
Enabling SSH
SSH (Secure Shell) is the most common method for remotely accessing a Raspberry Pi. To enable SSH:
- Open the Raspberry Pi Configuration tool.
- Navigate to the "Interfaces" tab.
- Select "Enabled" for SSH.
Setting a Static IP Address
A static IP address ensures that your Raspberry Pi always has the same network address, making it easier to connect remotely. Use the following steps to set a static IP:
- Open the terminal on your Raspberry Pi.
- Edit the dhcpcd configuration file using the command `sudo nano /etc/dhcpcd.conf`.
- Add the static IP configuration details.
Preparing Windows 10 for Remote Access
Your Windows 10 device also requires some preparation to facilitate remote access to your Raspberry Pi. Here's how you can get started:
Installing an SSH Client
Windows 10 includes a built-in SSH client, but you may need to enable it. To do this:
Read also:Is June Carter Still Alive Exploring The Legacy Of A Country Music Legend
- Go to "Settings"> "Apps"> "Optional features".
- Select "Add a feature" and choose "OpenSSH Client".
Downloading VNC Viewer
VNC Viewer is a powerful tool for remotely accessing your Raspberry Pi's graphical interface. Download and install it from the official website to ensure a secure connection.
Using SSH for Remote Access
SSH is a secure and efficient way to access your Raspberry Pi remotely. Here's how you can use SSH from your Windows 10 device:
Connecting via Command Line
Open the command prompt on your Windows 10 device and enter the following command:
ssh pi@
Replace `
Managing Files and Directories
Once connected via SSH, you can manage files and directories on your Raspberry Pi just as you would on a local machine. Use commands like `ls`, `cd`, and `cp` to navigate and manipulate files.
Setting Up VNC for Remote Access
VNC allows you to access the graphical interface of your Raspberry Pi remotely. Follow these steps to set it up:
Enabling VNC on Raspberry Pi
Use the Raspberry Pi Configuration tool to enable VNC. Navigate to the "Interfaces" tab and select "Enabled" for VNC.
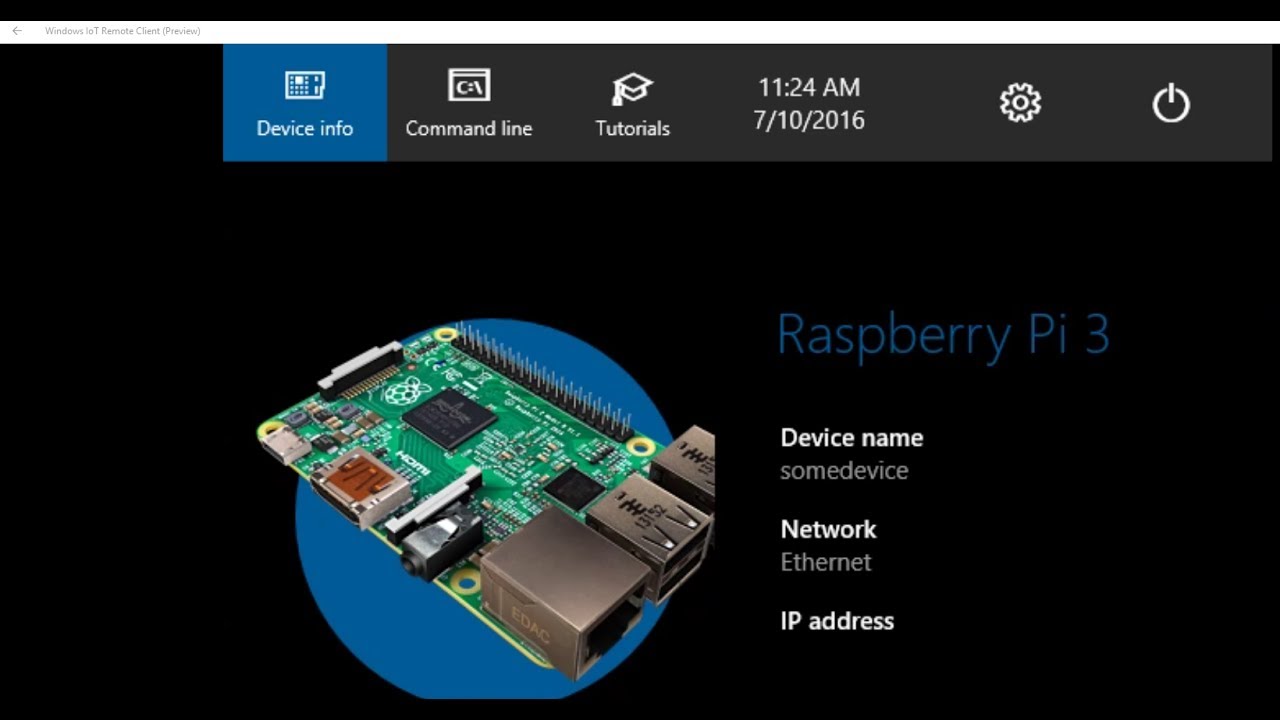
Connecting with VNC Viewer
Launch VNC Viewer on your Windows 10 device and enter the IP address of your Raspberry Pi. Enter the login credentials when prompted to establish the connection.
Configuring Network Settings
Proper network configuration is essential for seamless remote access. Here are some tips to optimize your network settings:
Using a Router with Port Forwarding
If you're accessing your Raspberry Pi from outside your local network, configure your router to forward the necessary ports (usually 22 for SSH and 5900 for VNC) to your Raspberry Pi's IP address.
Checking Network Connectivity
Ensure that your Raspberry Pi is connected to the same network as your Windows 10 device. Use tools like `ping` to verify connectivity.
Integrating IoT Devices
With remote access to your Raspberry Pi, you can now integrate IoT devices into your projects. Here's how:
Connecting Sensors and Actuators
Use GPIO pins on your Raspberry Pi to connect sensors and actuators. Write Python scripts to read data from sensors and control actuators remotely.
Monitoring IoT Data
Set up a dashboard on your Raspberry Pi to monitor IoT data in real-time. Tools like Grafana can be used to visualize data collected from sensors.
Enhancing Security for Remote Access
Security is paramount when accessing your Raspberry Pi remotely. Here are some measures to enhance security:
Using Strong Passwords
Ensure that your Raspberry Pi and Windows 10 device have strong, unique passwords. Avoid using default credentials.
Implementing Firewall Rules
Configure a firewall on your Raspberry Pi to allow only necessary ports and IP addresses. Use tools like `ufw` (Uncomplicated Firewall) for easy management.
Troubleshooting Common Issues
Even with proper setup, you may encounter issues when remotely accessing your Raspberry Pi. Here are some common problems and solutions:
Connection Refused Errors
If you receive a "Connection refused" error, check the following:
- Ensure that SSH or VNC is enabled on your Raspberry Pi.
- Verify that the IP address and port number are correct.
- Check firewall settings to ensure the necessary ports are open.
Slow Connection Speeds
Slow connection speeds can be caused by network congestion or inadequate bandwidth. Consider upgrading your internet connection or using a wired connection instead of Wi-Fi.
Conclusion
Remotely accessing your Raspberry Pi for IoT projects on Windows 10 is a powerful capability that enhances productivity and flexibility. By following the steps outlined in this guide, you can set up a secure and efficient remote access system. Remember to prioritize security and regularly update your software to protect your IoT devices.
We encourage you to share your experiences and ask questions in the comments section below. Additionally, explore other articles on our site to deepen your knowledge of IoT and Raspberry Pi projects. Together, let's build a smarter, more connected world!