Connecting your Raspberry Pi behind a router can be a game-changer for your home automation, server hosting, or IoT projects. It opens up countless possibilities for remote access, file sharing, and much more. If you're new to this process, don't worry—this guide will walk you through every step to ensure a seamless setup.
Whether you're a beginner or an advanced user, understanding how to connect Raspberry Pi behind a router is crucial. This setup allows you to maintain privacy while still enabling remote access to your device. With the right configuration, you can securely manage your Raspberry Pi from anywhere in the world.
In this article, we'll explore everything you need to know about connecting your Raspberry Pi behind a router. From setting up port forwarding to securing your network, we'll cover it all. Let's dive in and discover how you can harness the full potential of your Raspberry Pi.
Read also:Yannick Bisson And Family An Indepth Look Into The Life Of The Renowned Actor
Table of Contents
- Introduction
- Understanding Network Topology
- Preparing Your Raspberry Pi
- Configuring the Router
- Setting Up Port Forwarding
- Securing Your Connection
- Using Dynamic DNS
- Testing the Connection
- Troubleshooting Common Issues
- Advanced Techniques
- Conclusion
Introduction
Connecting a Raspberry Pi behind a router is a common requirement for users who want to leverage the device's capabilities without exposing it directly to the internet. This setup allows for secure communication while maintaining a robust network environment. By understanding the basics of networking and router configurations, you can ensure that your Raspberry Pi operates smoothly and efficiently.
In this section, we'll discuss why connecting a Raspberry Pi behind a router is essential and how it can enhance your projects. We'll also touch on the potential risks and how to mitigate them.
Understanding Network Topology
What Is a Network Topology?
Network topology refers to the arrangement of devices and connections within a network. When you connect a Raspberry Pi behind a router, you're essentially placing it within a private network. This setup provides several benefits, including enhanced security and better control over data flow.
- Private networks reduce the risk of unauthorized access.
- They allow for efficient resource management.
- They enable seamless communication between devices within the network.
Types of Network Topologies
There are several types of network topologies, but for our purposes, we'll focus on the star topology, which is commonly used in home networks. In a star topology, all devices connect to a central hub, typically a router. This setup ensures that each device has a direct connection to the router, minimizing data loss and improving performance.
Preparing Your Raspberry Pi
Hardware Requirements
Before you begin, ensure that your Raspberry Pi is properly set up and ready for use. Here's a checklist of what you'll need:
- Raspberry Pi (any model will work, but newer models offer better performance).
- A reliable power supply.
- An SD card with Raspberry Pi OS installed.
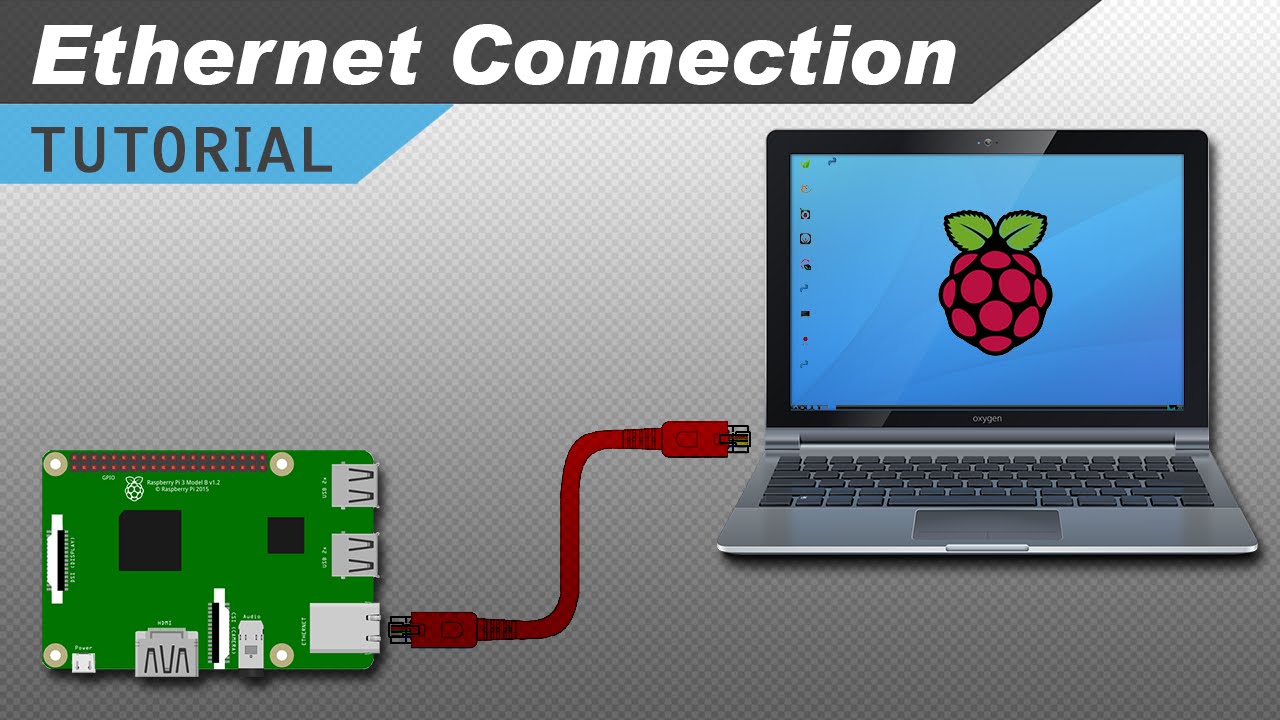
- An Ethernet cable or Wi-Fi dongle (depending on your router setup).
Software Setup
Once your hardware is ready, it's time to configure the software. Start by updating your Raspberry Pi OS to the latest version. This ensures that you have access to the latest features and security patches. Use the following commands in the terminal:
Read also:Crazyjamjam Fanfic Exploring The World Of Creative Fiction
sudo apt update
sudo apt upgrade
Additionally, enable SSH (Secure Shell) for remote access. You can do this through the Raspberry Pi Configuration tool or by creating an empty file named "ssh" on the boot partition of your SD card.
Configuring the Router
Accessing the Router's Admin Panel
To connect your Raspberry Pi behind a router, you'll need to configure the router settings. Start by accessing the router's admin panel. This is usually done by entering the router's IP address into your web browser. Common IP addresses include 192.168.0.1 or 192.168.1.1.
Once you're logged in, navigate to the settings menu and look for options related to port forwarding, static IP assignment, and firewall rules. These settings will play a crucial role in ensuring that your Raspberry Pi can communicate with devices outside your network.
Setting Up Port Forwarding
What Is Port Forwarding?
Port forwarding is a technique that allows external devices to communicate with devices within your private network. By configuring port forwarding, you can enable remote access to your Raspberry Pi without exposing your entire network to the internet.
Steps to Set Up Port Forwarding
Here's how you can set up port forwarding for your Raspberry Pi:
- Log in to your router's admin panel.
- Locate the port forwarding settings.
- Create a new rule and specify the external port, internal port, and IP address of your Raspberry Pi.
- Save the changes and test the connection.
For example, if you're setting up an SSH server, you might forward port 22 to the IP address of your Raspberry Pi.
Securing Your Connection
Why Security Matters
When you connect a Raspberry Pi behind a router, security should be your top priority. Unauthorized access can compromise your data and even your entire network. To mitigate these risks, follow these best practices:
- Use strong passwords for both your router and Raspberry Pi.
- Enable encryption for all network communications.
- Regularly update your software to patch vulnerabilities.
- Limit access to specific IP addresses if possible.
Implementing SSH Key Authentication
One of the most effective ways to secure your Raspberry Pi is by implementing SSH key authentication. This method eliminates the need for passwords and significantly reduces the risk of brute-force attacks. Follow these steps to set up SSH key authentication:
- Generate a key pair on your local machine.
- Copy the public key to your Raspberry Pi.
- Disable password authentication in the SSH configuration file.
Using Dynamic DNS
What Is Dynamic DNS?
Dynamic DNS (DDNS) is a service that maps your dynamic IP address to a static domain name. This is particularly useful if your internet service provider assigns a new IP address to your router periodically. With DDNS, you can always access your Raspberry Pi using a consistent domain name.
Setting Up DDNS
Here's how you can set up DDNS for your Raspberry Pi:
- Sign up for a DDNS service provider (e.g., No-IP, DuckDNS).
- Create a hostname and link it to your router's IP address.
- Install the DDNS client on your router or Raspberry Pi to keep the hostname updated.
Testing the Connection
Verifying the Setup
After completing the configuration, it's essential to test the connection to ensure everything is working as expected. Try accessing your Raspberry Pi from another device on the same network and then from an external device. Use tools like ping, traceroute, and SSH to verify connectivity.
Troubleshooting Tips
If you encounter issues, here are some troubleshooting tips:
- Check the router's firewall settings to ensure they're not blocking the connection.
- Verify that the port forwarding rules are correctly configured.
- Test the connection using a different device or network.
Troubleshooting Common Issues
Connection Refused
If you receive a "Connection refused" error, it usually means that the port you're trying to access is closed or blocked. Double-check your port forwarding settings and ensure that the service is running on your Raspberry Pi.
Timeout Errors
Timeout errors often occur due to network latency or incorrect IP address configuration. Use tools like traceroute to identify where the connection is failing and adjust your settings accordingly.
Advanced Techniques
Setting Up a Web Server
Once your Raspberry Pi is connected behind a router, you can set up a web server to host your personal website or application. Use software like Apache or Nginx to configure the server and ensure it's accessible from the internet.
Creating a Media Server
Another popular use case for Raspberry Pi is as a media server. Install software like Plex or Kodi to stream your favorite movies and TV shows from anywhere in the world. With the right configuration, you can enjoy high-quality media playback without compromising security.
Conclusion
Connecting a Raspberry Pi behind a router is a powerful way to enhance your home network and unlock new possibilities for your projects. By following the steps outlined in this guide, you can ensure a secure and reliable setup that meets your needs.
Remember to prioritize security and regularly update your software to protect your network. If you encounter any issues, refer to the troubleshooting section for guidance.
We hope this article has been helpful in your journey to connect your Raspberry Pi behind a router. Feel free to leave a comment below or share this article with others who might find it useful. For more tips and tutorials, explore our other articles on Raspberry Pi and networking.